How to Create a Perfect South Sea Strand
Pearl auctions happen several times each year, primarily in places such as Hong Kong, Japan and French Polynesia. For the most part, these auctions offer pearls in what are known as "lots." Lots are parcels of undrilled pearls that can be separated into specific sizes, grades or colors, or they may be "mixed lots," with an assortment of grades and sizes.
The majority of lots offered at any given auction are commercial lots, or lots in the lower quality range. On the A-D scale, these lots are typically in the C-D range. These lots tend to be the largest and bidding can be quite competitive because these are the lots used to make strands of Tahitian and South Sea pearls for the wholesale market. This is why it is very difficult, in fact almost impossible, to find strands of true AAA quality at jewelry shows. The A and A/B graded lots aren't used in strands. They are sold for things such as earring, rings and pendants. In order to make what I consider a fine grade strand, it needs to be made from one of those top-graded lots.
I received a special request for a custom, 17-inch, 8.5-9 mm white South Sea strand last week. This is definitely small in the South Sea pearl range, but it's a great opportunity for me to write about the steps in creating the perfect piece.
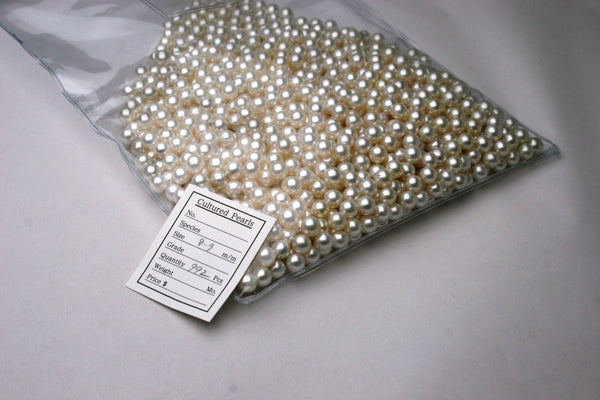
Step One: start with a fine lot of small South Sea pearls
Fine Quality 8-9 mm White South Sea Pearls
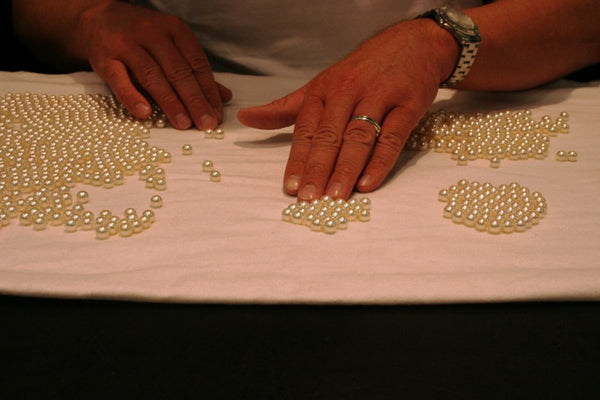
Step Two: sort the pearls for color and luster
Sorting the Pearls into Similar, Smaller Lots
The Final Selection of Pearls for the Strand
After the pearls have been sorted and the size needed (8.5-9 mm) selected, they need to be matched in size order. Typically this is something I will do by sight and confirm and correct using a digital caliper. This particular project, however, had almost no graduation. I used a digital caliper to precisely order them into a long strand.
Step Three: create a longer-than-needed strand
Two rows just over 12 inches would knot to more than 27 inches
I like to go a lot longer than needed when making a strand. This gives me the option of removing pearls that just don't work as well as others or pearls that aren't quite good enough (dull spots, too many blemishes, etc.) to be in the strand.
Step Four: remove pearls until reaching the desired length
The stage above is just before drilling and if it is a custom strand, this is the stage I will usually take a quick photo and send it to our customer for confirmation.
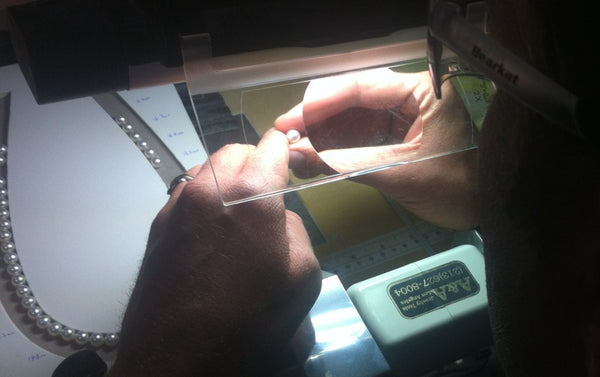
When drilling, it's vitally important to choose the perfect drill point. Most pearls will have at least one obvious drill point, but some pearls have only the smallest of pin-prick blemishes. I find it's easiest to examine the pearls under magnification prior to drilling. Once the drilling starts, there is no turning back.
Step Five: find the perfect drill point ... and drill!
Finding the perfect point on a pearl to drill is paramount
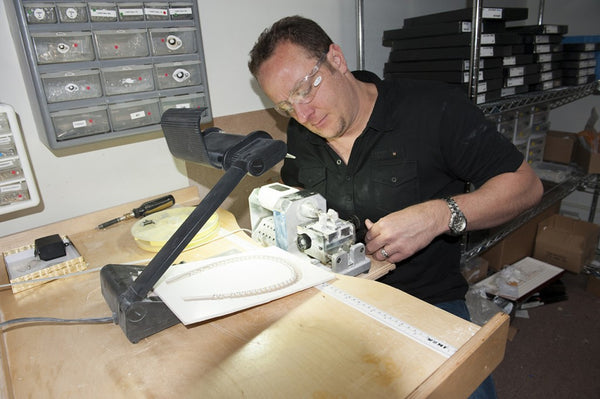
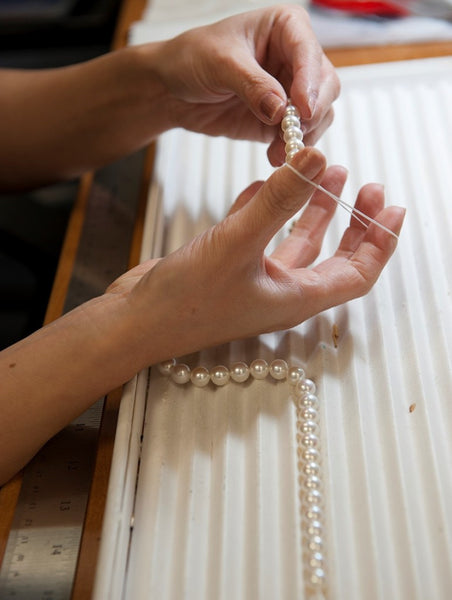
Once the pearls are drilled, I will usually string them onto a temporary thread. This serves two purposes; it helps remove the pearl dust still in the drill holes and keeps the pearls together before they are knotted.
Step Six: knotting the pearls
A knot is placed between every pearl in the strand
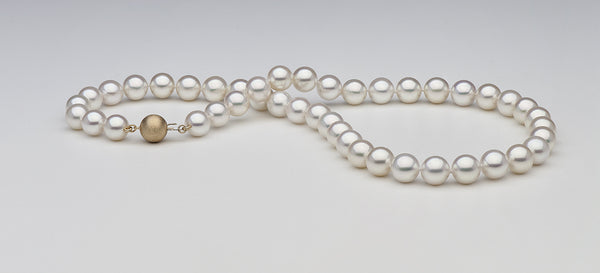
After the strand has been knotted we take one final photo to capture the true beauty of the finished piece before sending the strand of pearls on its way.
The Result: a perfect strand of South Sea pearls
Click on the image to expand






Thank YOU Karen!
I just love all of the strands I have purchased from you! I have visited your operation quite a few times. The last time I loved picking the Tahitian Pearls for my earrings. You have a first class operation!
Wow
Really Splendid story Jeremy, and what an outstanding necklace! Thanks for taking us on this journey.
Leave a comment